Your Cart is Empty
We are hiring! Check our Job Application Page for More Info. Click Here.
We are hiring! Check our Job Application Page for More Info. Click Here.
We are hiring! Check our Job Application Page for More Info. Click Here.

January 30, 2024 3 min read
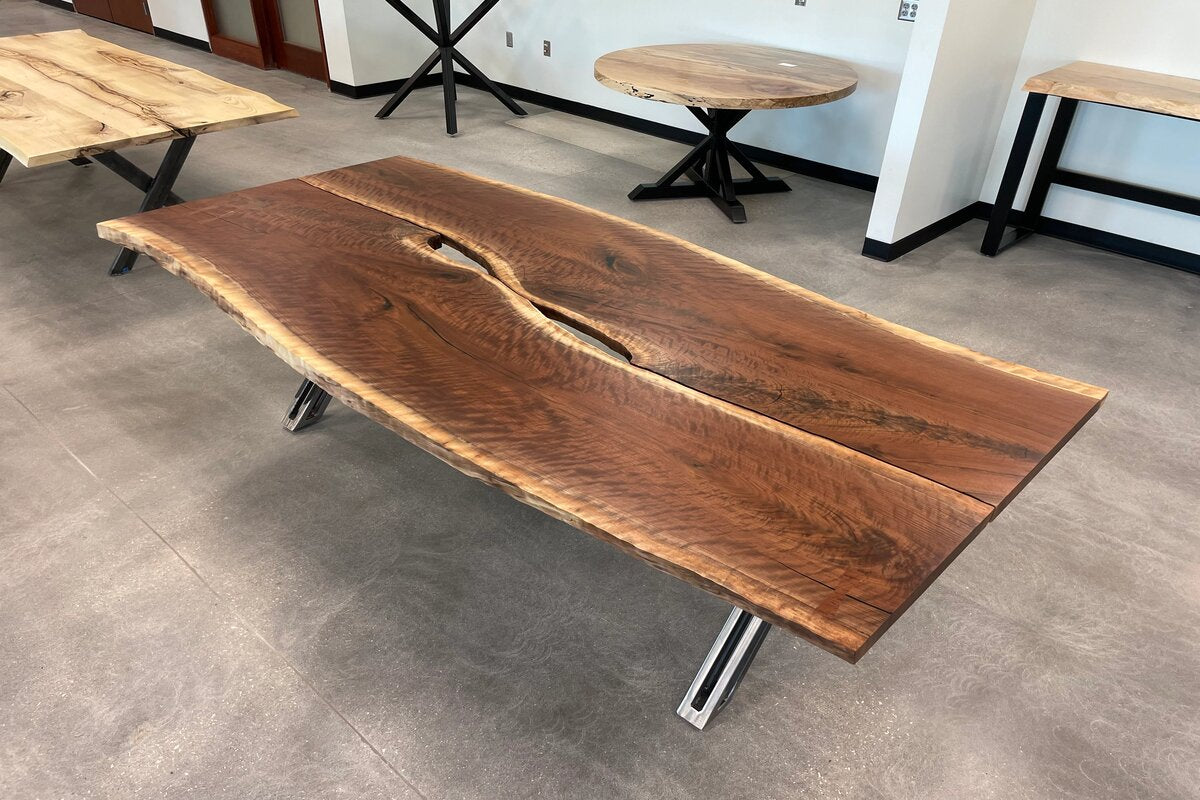
Live edge tables are a stunning addition to any home, bringing a touch of nature indoors. They showcase the natural beauty of wood and add a rustic charm to your living space. However, to ensure your live edge table remains in top-notch condition and retains its beauty for years to come, it's crucial to know how to properly seal it. In this guide, we'll walk you through the process to seal a live edge table to protect it from the elements and daily wear and tear.
Before we explore the step-by-step process of sealing a live edge table, let's highlight some common mistakes that people often make when attempting this task. These mistakes can lead to a less-than-ideal result and may require costly fixes down the road.
One of the most common mistakes is failing to seal both sides of the table. Sealing both sides of the table is essential because wood is constantly in motion, expanding and contracting with the changing seasons. If you only finish the top side of the table and leave the underside untreated, you risk the table warping or developing issues over time. To avoid this, make sure to seal both sides of your live edge table equally.
Seal a live edge table is not a one-size-fits-all process. Different projects and wood types may require varying finishes. For instance, if you are working on an epoxy table, the sealing process will differ from that of a solid wood table. Additionally, if you want a more natural look, you might opt for an oil-based finish.
Over the years, many woodworking enthusiasts have gone through a process of trial and error to find the perfect product for their tables. Some prefer oil-based finishes for a raw, natural appearance, while others have settled on a 2K urethane finish for its durability and consistent curing properties.
After much experimentation, many woodworkers have landed on a solid wood finish using a 2K urethane product. This finish provides a consistent cure time, regardless of changes in temperature and humidity. It also offers a beautiful, natural look that complements the wood's natural grain.
Now, let's walk you through the application process for sealing your live edge table with a 2K urethane finish.
One of the advantages of using a 2K urethane finish is the quick curing time, which allows you to apply coats approximately every 30 minutes. This significantly reduces the overall time required to complete the sealing process compared to some other products that demand longer drying times.
Sealing a live edge table requires careful consideration of the wood type, project, and the desired finish. Choosing the right finish and applying it correctly will not only protect your table but also enhance its natural beauty. Remember to seal both sides of the table to ensure its longevity.
If you have any questions or need further assistance, don't hesitate to contact KC Custom Hardwoods today for expert guidance in sealing your live edge table.